- L.A.D.A & M.S.P.S.G routines on junctions you approach
- Two second gap. hold back position
- Meeting , overtaking, adequate clearance when overtaking stationary & slow moving vehicles
- Awareness and planning
- Traffic calming measures
- Full talk through
- Prompt
- Independent
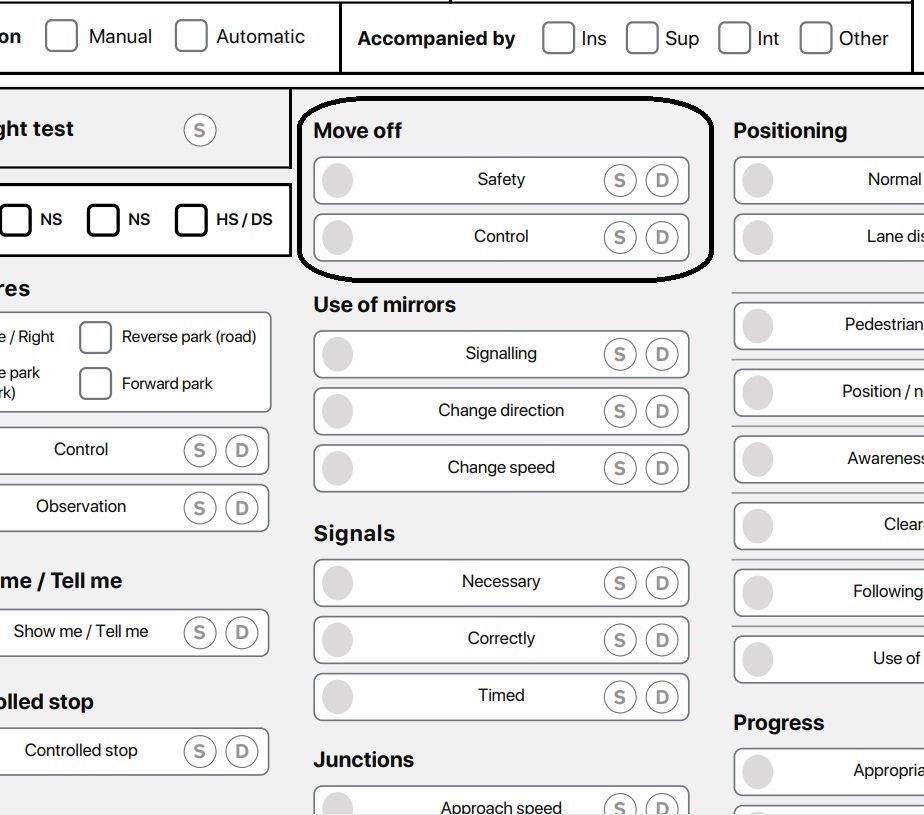
Moving off
- You were marked on:
- control - your ability to control the car
- safety - your ability to perform this action safely
- You needed to show you could move off safely and under control throughout your test. This included:
- from the side of the road
- on a slope or hill (gradient)
- from behind a parked vehicle, so you have to move off at an angle
- at junctions
- You should have used your mirrors and checked blind spots to observe your surroundings, and signalled when necessary. Your control of the car should have prevented it from rolling backwards or stalling.
Examples of faults
- Some of the most common faults for this area include:
- trying to move off without appropriate control and rolling back
- not properly checking your blind spots
- moving off into the path of an oncoming vehicle
- repeatedly stalling when moving off throughout your test
- Your examiner may have explained the specific details of any faults you made.
- How you can improve in this area
- If you made faults in this area during your test, or if you want to improve in this area, you should:
- check rules 159 to 161 of The Highway Code
- read pages 91 to 93 of ‘The Official DVSA Guide to Driving: the Essential Skills’ (2022 edition)
- If you need to rebook the test, spend time practising and improving this skill with your driving instructor or supervising driver. You could work on:
- finding the biting point when using the clutch, to prevent stalling
- using the mirrors - signal - manoeuvre (MSM) routine
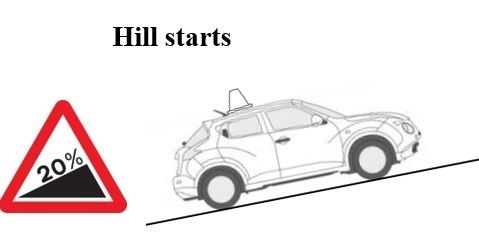
Uphill Start off using P.O.M/M.S.M routines
In the Preparation of P.O.M you will need more biting point on your clutch pedal and you will need more gas (pedal), this will stop you from rolling back, give you the sufficient power needed to move away on an uphill gradient and will ensure your vehicle doesn’t stall.
£1 thickness of the clutch pedal
Most common fault
When you release the handbrake your vehicle rolls backwards, the consequence (implication) here is that you could roll back into the vehicle behind you or even worse a pedestrian. So you can see the hill start skill is very important for the safety of others.
The remedy the roll back is to slightly raise your clutch pedal a THICKNESS of a POUND COIN
until you have the correct about of biting point to hold your training vehicle (the key to success is to ensure you have the biting point before moving off).
Uphill starts
The key to uphill starts is for you to understand the clutch pedal so if your vehicle does not roll back when you release your handbrake. If your training vehicles does roll back this means your clutch is too low. To fix this problem just raise your clutch up a £1 coin thickness at a time until you no longer rolls back, then this will hold vehicle stays still or roll slightly forward.
To move your vehicle forward raise your clutch up £1 up at a time till you are moving forward.
Parking up and leaving your vehicle on a hill
Use of steering wheel
For extra safety in case your handbraked ever failed on a hill, turn your steering wheel full lock right. Then if your training vehicle does for any reason roll back your front wheel of your training vehicle will roll back and touch the kerb and stop your vehicle rolling back any more. However if your wheels where straight it will just roll straight back in a straight line and could collide back into a park vehicle or even worse a pedestrian.
Use of 1st gear
You can also keep your gear stick in 1st gear if you know your handbrake is not working as efficiently as it should be. Here is two strategy's on security if your vehicle on a hill.
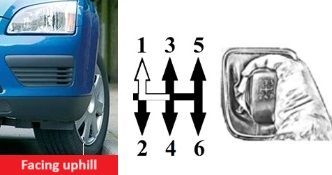
- Clutch down 1st gear and find the biting point
- Then set a little gas
- 6 point safety checks
- Release your hand
- See-saw your feet
- control - your ability to control the car
- safety - your ability to perform this action safely
- from the side of the road
- on a slope or hill (gradient)
- from behind a parked vehicle, so you have to move off at an angle
- at junctions
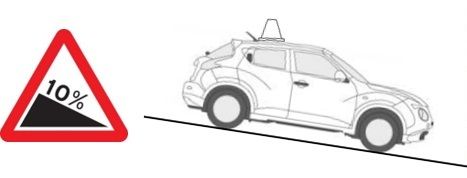
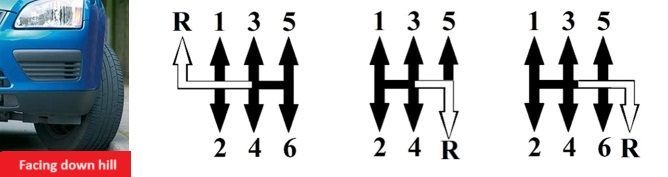
Downhill Start with P.O.M/M.S.M routines
On a downhill start (decline) you will need less gas! As gravity will do the work.
Use the P.O.M routine, but the difference is you depress the clutch and select 2nd gear and find the biting point.
Prepare
Clutch down 2nd gear and find the biting point
Then set a little gas

- 6 point safety checks
- Signal right
Snow and icy conditions
You would also need to the downhill start method to pull away when it snow or icy. Obviously you wouldn’t need it 100% of the time but if you try and pull away and your drive wheels loose traction and just wheel spin you will not move. Just remind yourself of this lesson plan and look professional as you pull away.

Parking up and leaving your vehicle on a hill
Use of steering wheel
For extra safety in case your handbraked ever failed on a down hill, turn your steering wheel full lock left. Then if your training vehicle does for any reason roll forward your front wheel of your training vehicle will roll forward and touch the kerb and stop your vehicle rolling forward any more. However if your wheels where straight it will just roll straight forward in a straight line and could collide forward into a park vehicle or even worse a pedestrian.
Use of reverse gear
You can also keep your gear stick in reverse gear if you know your handbrake is not working as efficiently as it should be. Here is two strategy's on security if your vehicle on a hill.
- Clutch down
- 1st gear
- Find your biting point
- Set your gas.

- Apply a right signal even if you think there is no one to benefit (always backup your intention).
- Only start to signal right (indicate) when there are no vehicles coming from behind but signal for oncoming vehicles from ahead, as they will not be able to see you till you moved out slightly at an angle from behind the parked vehicle that is in front of you.
- Remember you are moving off slowly as your close to a parked vehicle in front of you
- Use clutch control to keep your speed down until you have straightened your drive wheels by using the pull/ push method of steering.
- Agree learning goals and needs of todays lesson
- Agree appropriate lesson structure (full, partially or independent level of instruction)
- Practice in a suitable training area
- Agreed if needed to adapt the lesson plan to help the pupil work towards their new learning goals if any verbal or physical intervention was made by the instructor
- Directional instructions will be given in ADI format (Alert, direction and identify manor) given to the pupil clear and given in good time
- Agree if the students made a minor, serious or dangerous error on your lesson it will be broken down using F.I.S.H (fault, implications, solution & help) this method of feedback helps pupils understand what fault is being made and how to strategies on how correct the faults.
- Your driving instructor will adapt their teaching style to suite your ability and ability
- Your driving instructor will continue to encourage you on your lesson and analyse any problems made and allow you to take responsibility for your own learning goals by giving you technical information to improve your techniques. Your technical feed back from your instructor will be ether given on the move or if feel needed by pulling you up on the side of the road somewhere safe, legal and convenient.