Reversing around a corner (left)
Introduction
At this stage of your training your:-
- P.O.M routine (moving off)
- Steering to a safe driving position and pulling up on the left
- Clutch control
- Co-ordination of foot controls including gear changing up and down
- M.S.M routine at junctions and stopping
- Adequate clearance around stationary vehicles and slower moving vehicle (cyclists and pedestrians)
- T, Y junctions and timing of gaps right
should be improving and getting more independent
Agreed lesson is covering :-
Reversing around a corner on the left hand side of the road
Agree level of instruction
Intervention
On the drive to the reversing location you will assessed on the skills and drills from the above lesson briefs:-
Agree if any of the lesson is going to be a instructor-lead-lesson or a client-centred-lesson and if it is client-lead agree if the instructor has to intervein verbally, take control of the training vehicle by ether using the dual control or take the wheel the lesson plan may need to be changed until the fault is fixed.
F.I.S.H
- Fault
- Implication
- Solution
- Help
Lesson aims and strategies
The aim of today’s lesson is to incorporate the Look, Asses, Decide and Act and Mirror, Signal, Position, Speed, Gear routine's when reversing around a corner. Reversing around a corner will help to develop your clutch control as you move the clutch from the biting point £1 thickness up and down from the biting point.

Risk responsibility objective's
On the way to the training location you and your instructor will agree the level off support from your instructor:-
- Full talk through
- Prompt
- Independent.
This is important to ensure that the instructor and student understands who has the main responsibility on the control of the training vehicle on the set lesson plan.
Your level of instruction will be given by your instructor to a level to suit you from full talk through then reducing your support to either prompt or independent.
Please note from November 2017 your driving test changed the reversing around corners and the turn in the road exercises has been replace with parking up on the right hand side of the road and reverse back 2 too 3 car length and driving into a parking bay then reverse back out of it.
However you will still be taught learnt the reversing around corners and the turn in the road exercises manoeuvres at a lower structured level from your driving instructor.
Why just think if you are on your driving test and you go the wrong way (like a dead end road) and you was unable to turn your training vehicle around safely.....
Lesson brief
Reversing around a corner exercise will be taught to you at a certain point in your training as all driving instructors alter lesson briefing to suit all students needs, however all lesson briefs are agreed
at the end of each lesson lesson, so this will give you the opportunity to read the relevant brief (gestalt).
Lesson Brief
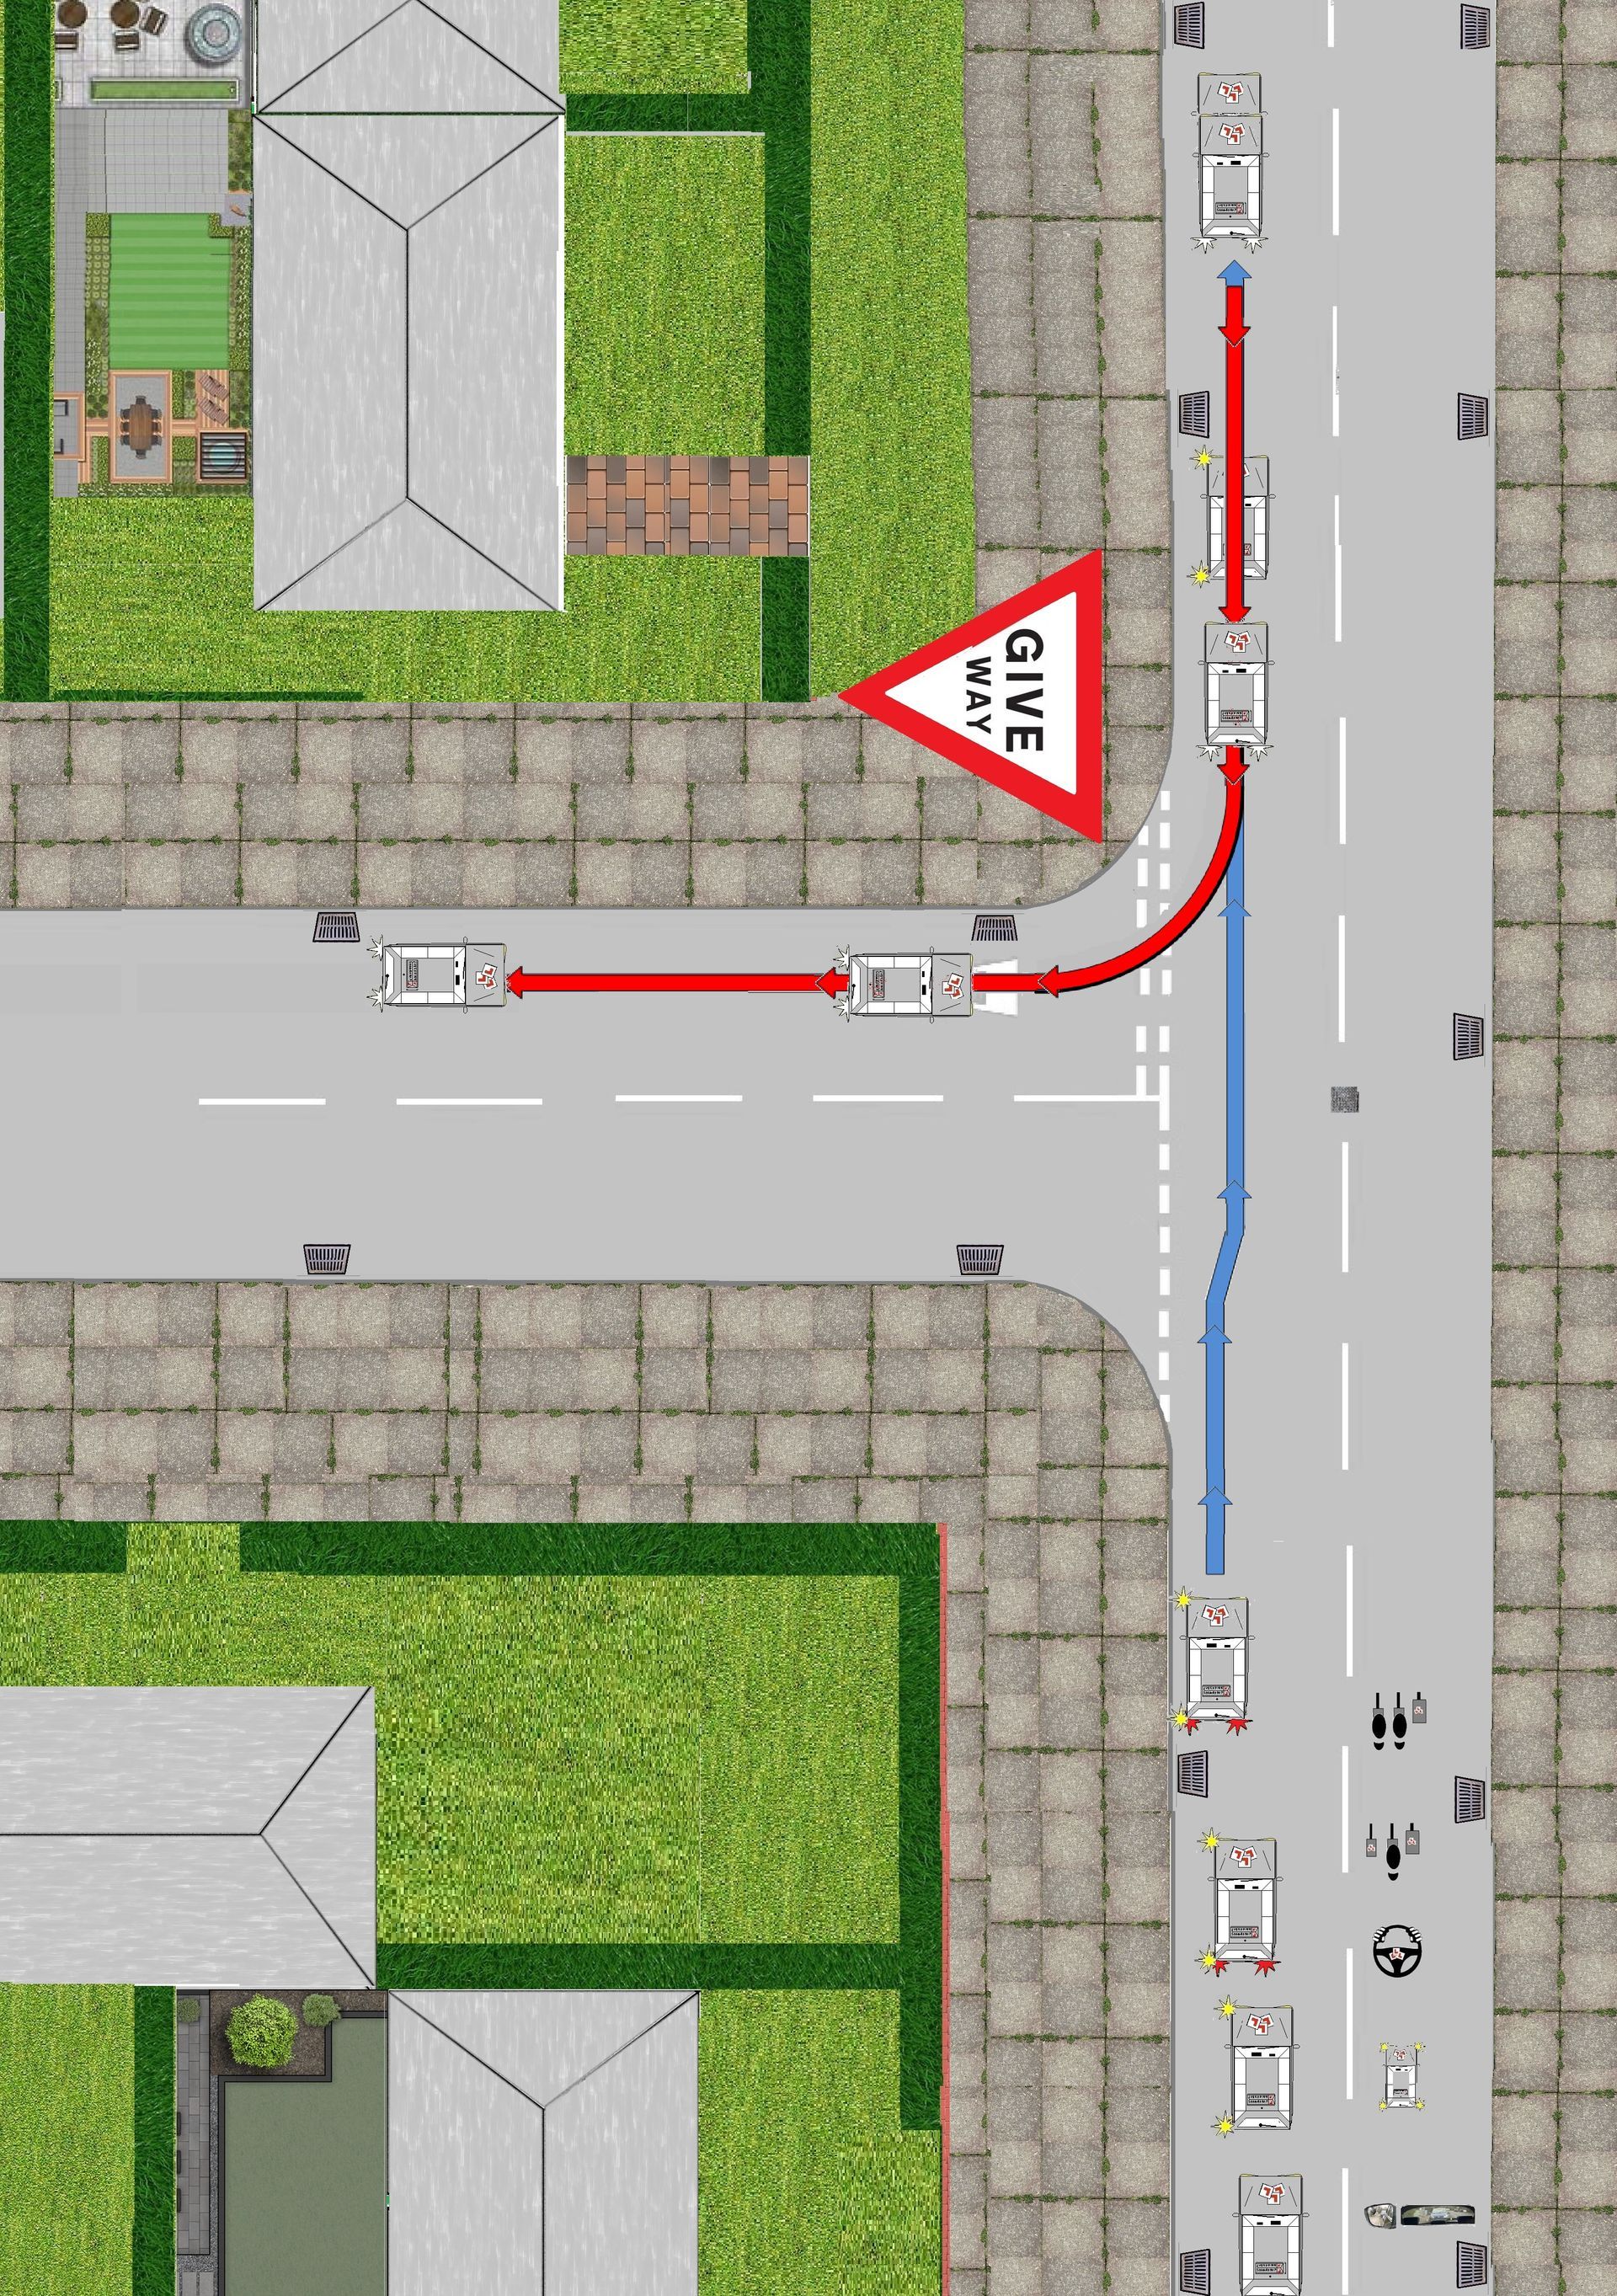
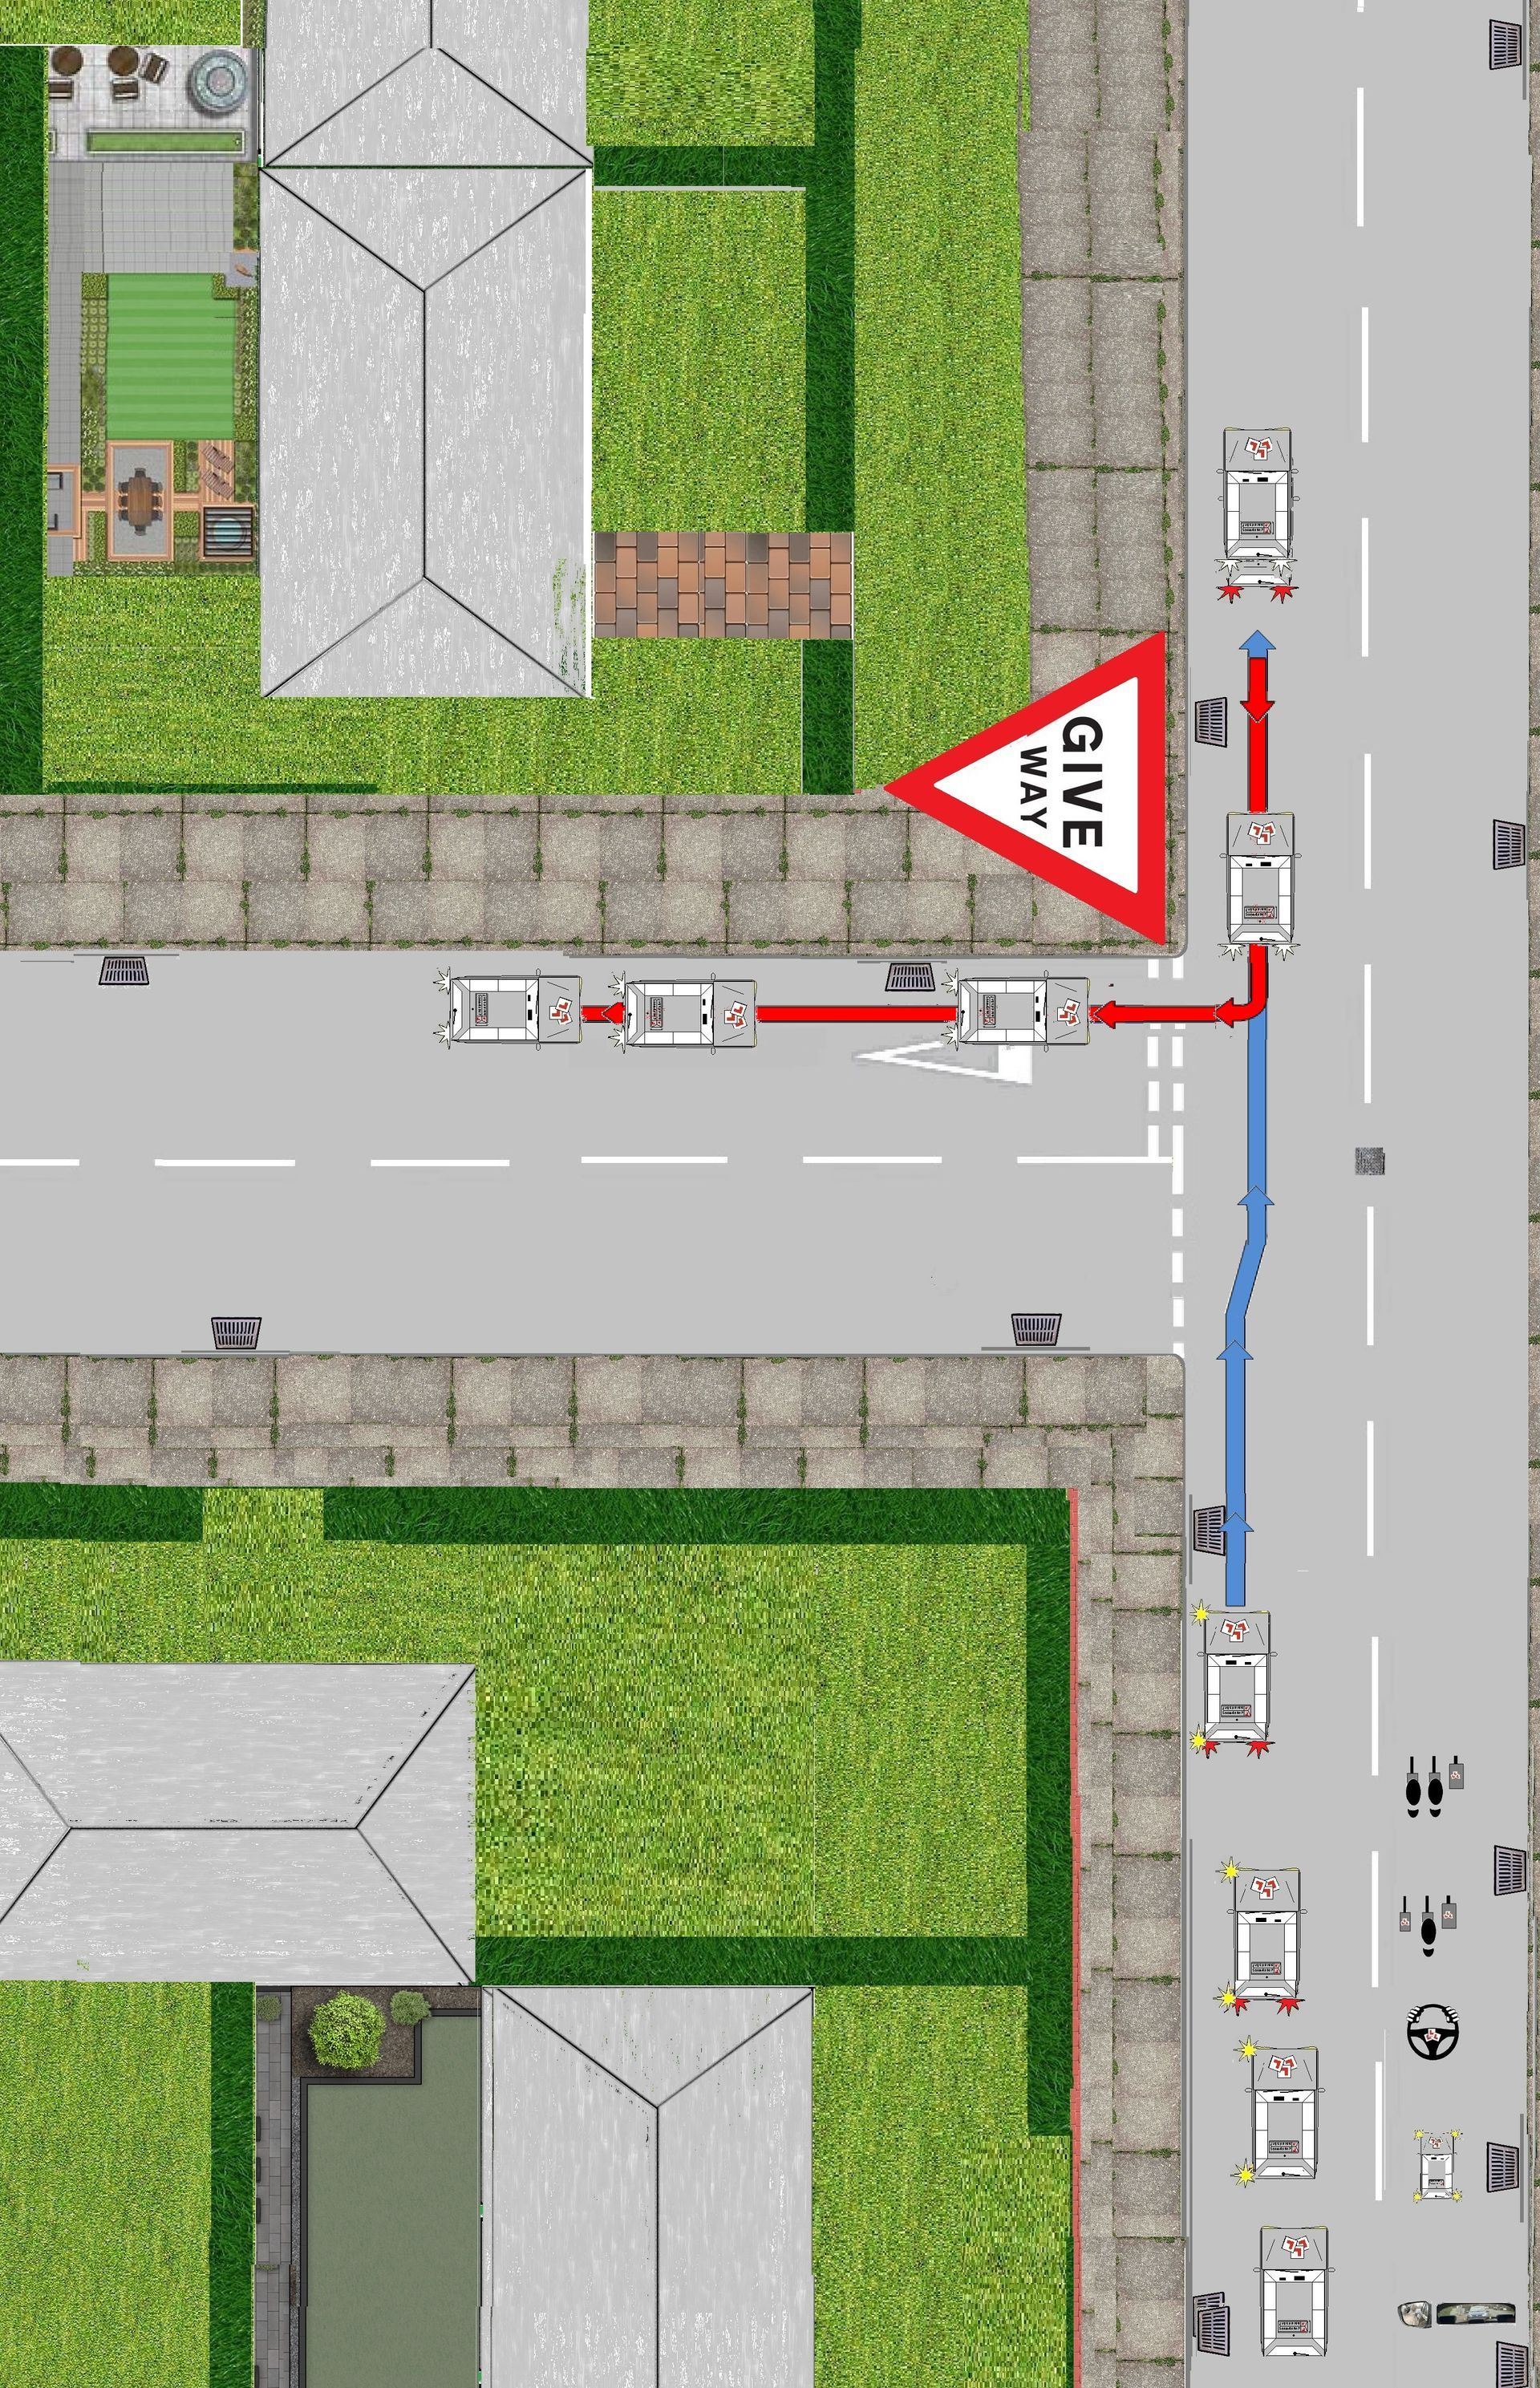
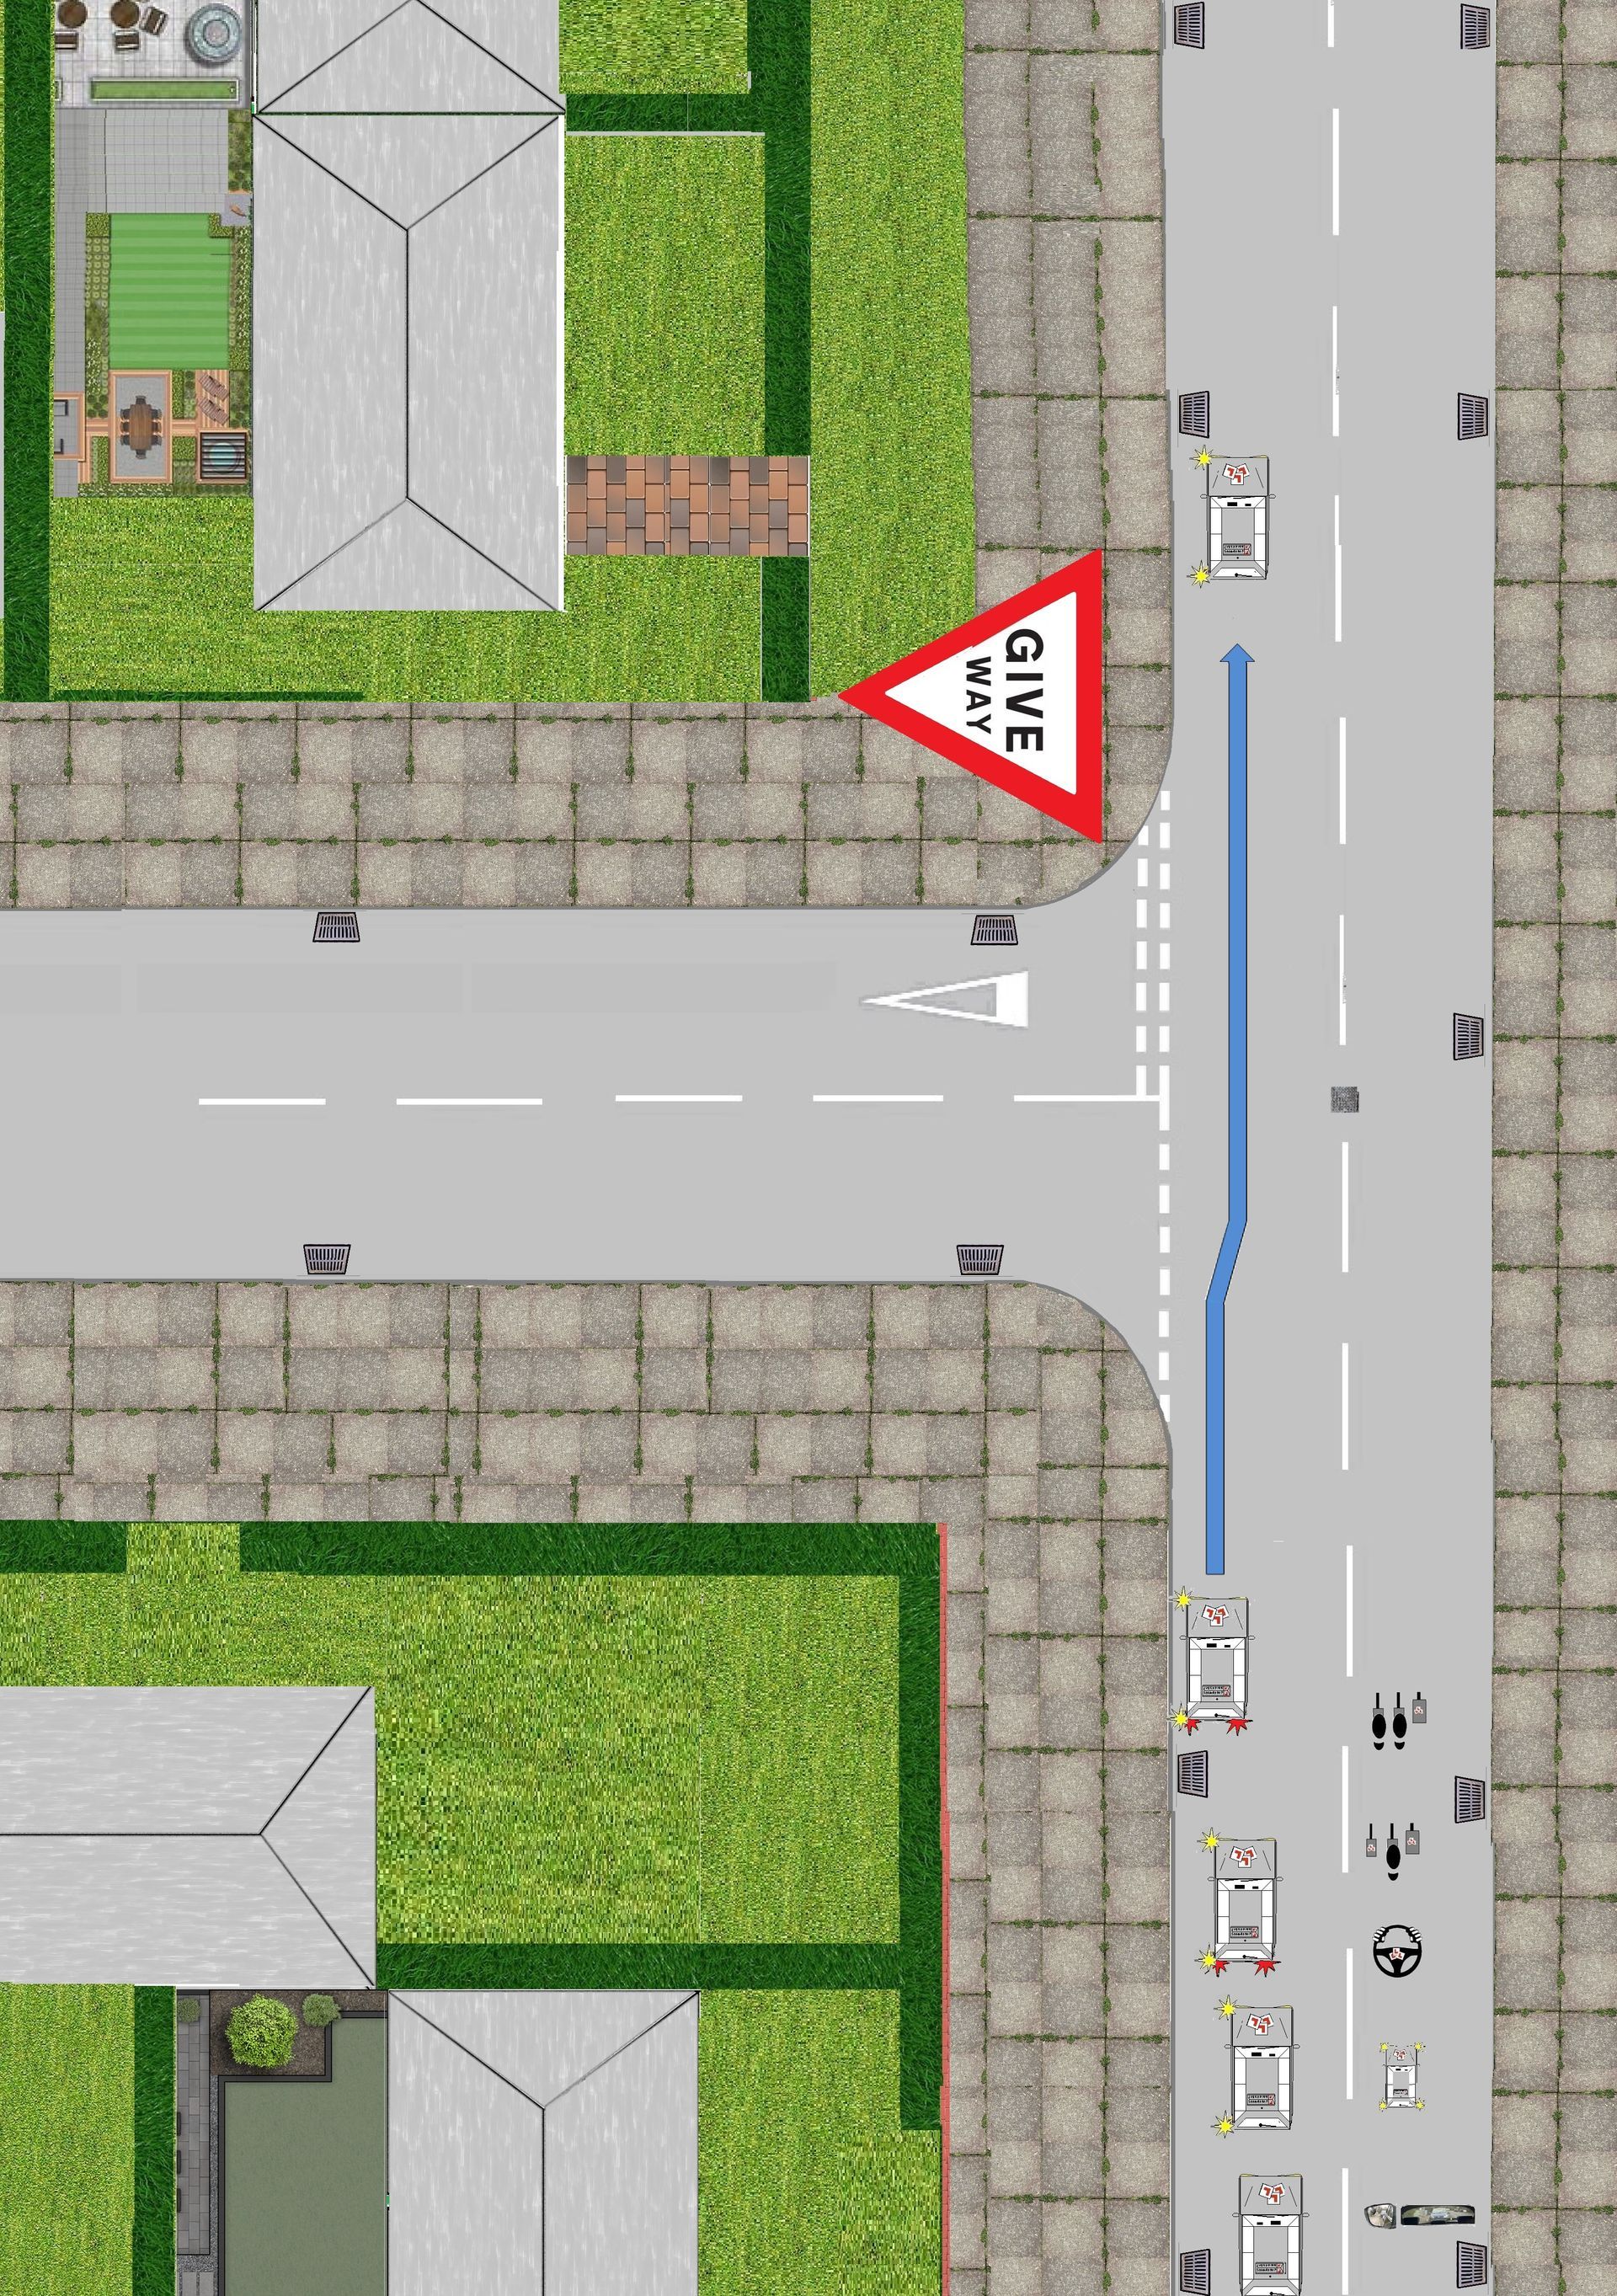
Throughout your lesson you will cover reversing around a left corner exercise (90 degree and rounded).
Basically the left reverse is two straight lines while negotiating a 90 degree or a relaxed (rounded) corner.
The only extra skill needed in this manoeuvre than the straight line reverse is the point you need to start to turn your steering wheel up around a left corner and the additional observational checks needed before, during and after the turn.
Complete the exercise on sharp and curved corners on roads.
Curved left reverse
Sharp or 90 degree corner
Life skill
The safest and easiest way to turn your vehicle around or go back in the opposite direction is to drive all the way around a roundabout or around the block. This is not always possible so the next best and most common solution is to reverse into an opening on the left/right.
But we feel being able to reverse a vehicle will give you more advanced life skills when manoeuvring a motor vehicle.
Location.
Once you have got to the training location you will be asked to park up on the left some where safe, legal and convenient on the left hand side of the road.
Once you have parked up you will be asked to drive across the road to start the manoeuvre.
Remember to park up slightly wider (and parallel) from the Kerb.
Make sure you are parked somewhere safe, legal and convenient.
- Park (roughly) a 1ft (drain width) from the curb.
- Ensure it’s free from parked vehicles, obstructions and no debris on the road as you don’t want to
get a (puncher) flat tyre.
- Never reverse on a main road and DO NOT reverse on a one way street for a long period of time.
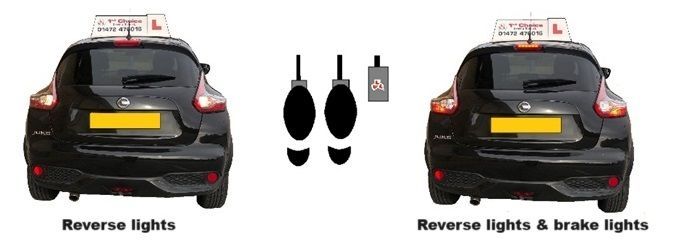
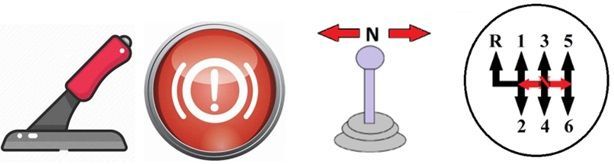
Select reverse gear
When selecting reverse gear remember the white lights on the back of your vehicle come on, so the vehicle coming toward (from behind) you will know your reversing so you will need to press your brakes to activate your brake lights telling them you have stopped.
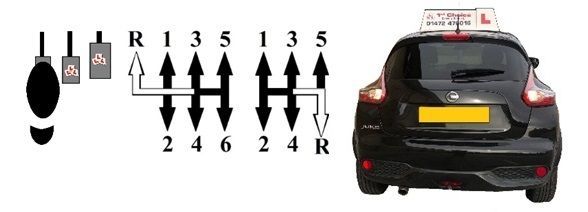
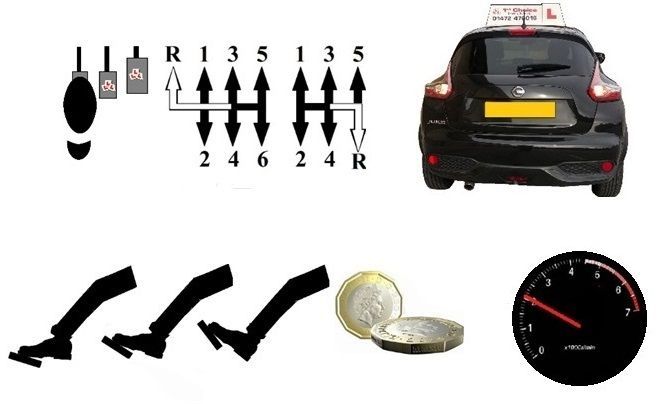
Please note reverse gear can be in different places so your instructor will guide you on correct position on the gear stick.
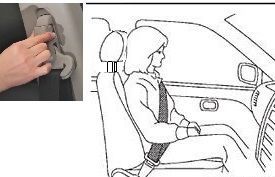
Use of seat belt.
By law you are allowed to remove your seatbelt, however it’s not practical as you could forget to put it back on or if you need to abandon your manoeuvre because a vehicle has come behind you. You will need to put it back on before you drive forward.
Releasing your seatbelt can help, however if you shuffle around in your seat you can look through the rear window by looking over your left shoulder a lot easier.
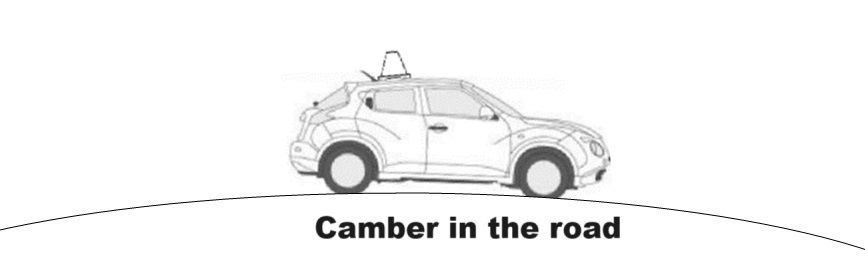
Camber of the road.
Most roads do have cambers however they should not be a problem on this reverse manoeuvre.
Q&A
When reversing who do you give way to?
Give way to approaching vehicles, cyclists and pedestrians.
This could help when to decide when to stop when obstacles are coming towards you:-
- Motor vehicle 6 car lengths from you.
- Cycle about 3 cars lengths from you.
- Pedestrians 1.5 car lengths from you.
Use of brake lights
Always pause and wait if a vehicle appears from your rear, press your foot brake as this will identify and show that you have seen the vehicle and stopped.
Constantly for look around for pedestrians/children on bikes or walking crossing the rear or around your vehicle, you will need to give way and wait for them to be clear before you can continue reversing.
When crossing a driveway to your rear, watch for road users emerging or wanting to turn into the driveway.
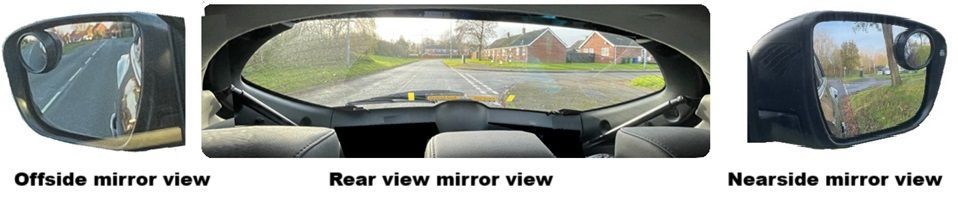
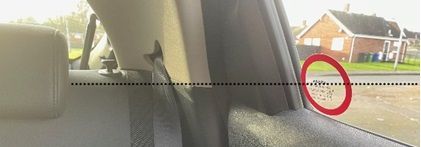
- The Kerb will be roughly in the middle of the back window (diagram below).
- In the near side door mirror (you will see how far away the side of your car is from the curb).
Clutch control
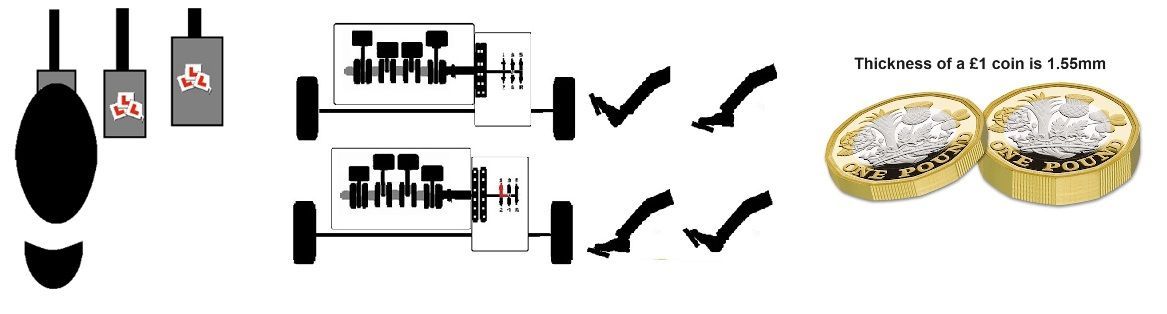
All the set manoeuvres should be undertaken at a very slow speed by using slow clutch control by moving your clutch a £1 thickness up and down from your biting point.

The nearside door mirror may also be useful for checking the position of the vehicle in relation to the kerb.
Starting the manoeuvre
Beginning the manoeuvre and reversing in a straight line to the P.O.T
Start with P.O.M
Prepare -
Clutch down, reverse gear and find the biting point.
Observations
Reverse the 6 point check so go from your right shoulder to the left shoulder, so you’re looking the correct way (over your left shoulder)
Move
When no vehicles are driving towards you (that's the back end of your vehicle) release your handbrake and reverse back SLOWLY (crawling pace).
Reverse back until you reach your point off turn, but always stop for any vehicles or pedestrian's traveling towards your rear window.
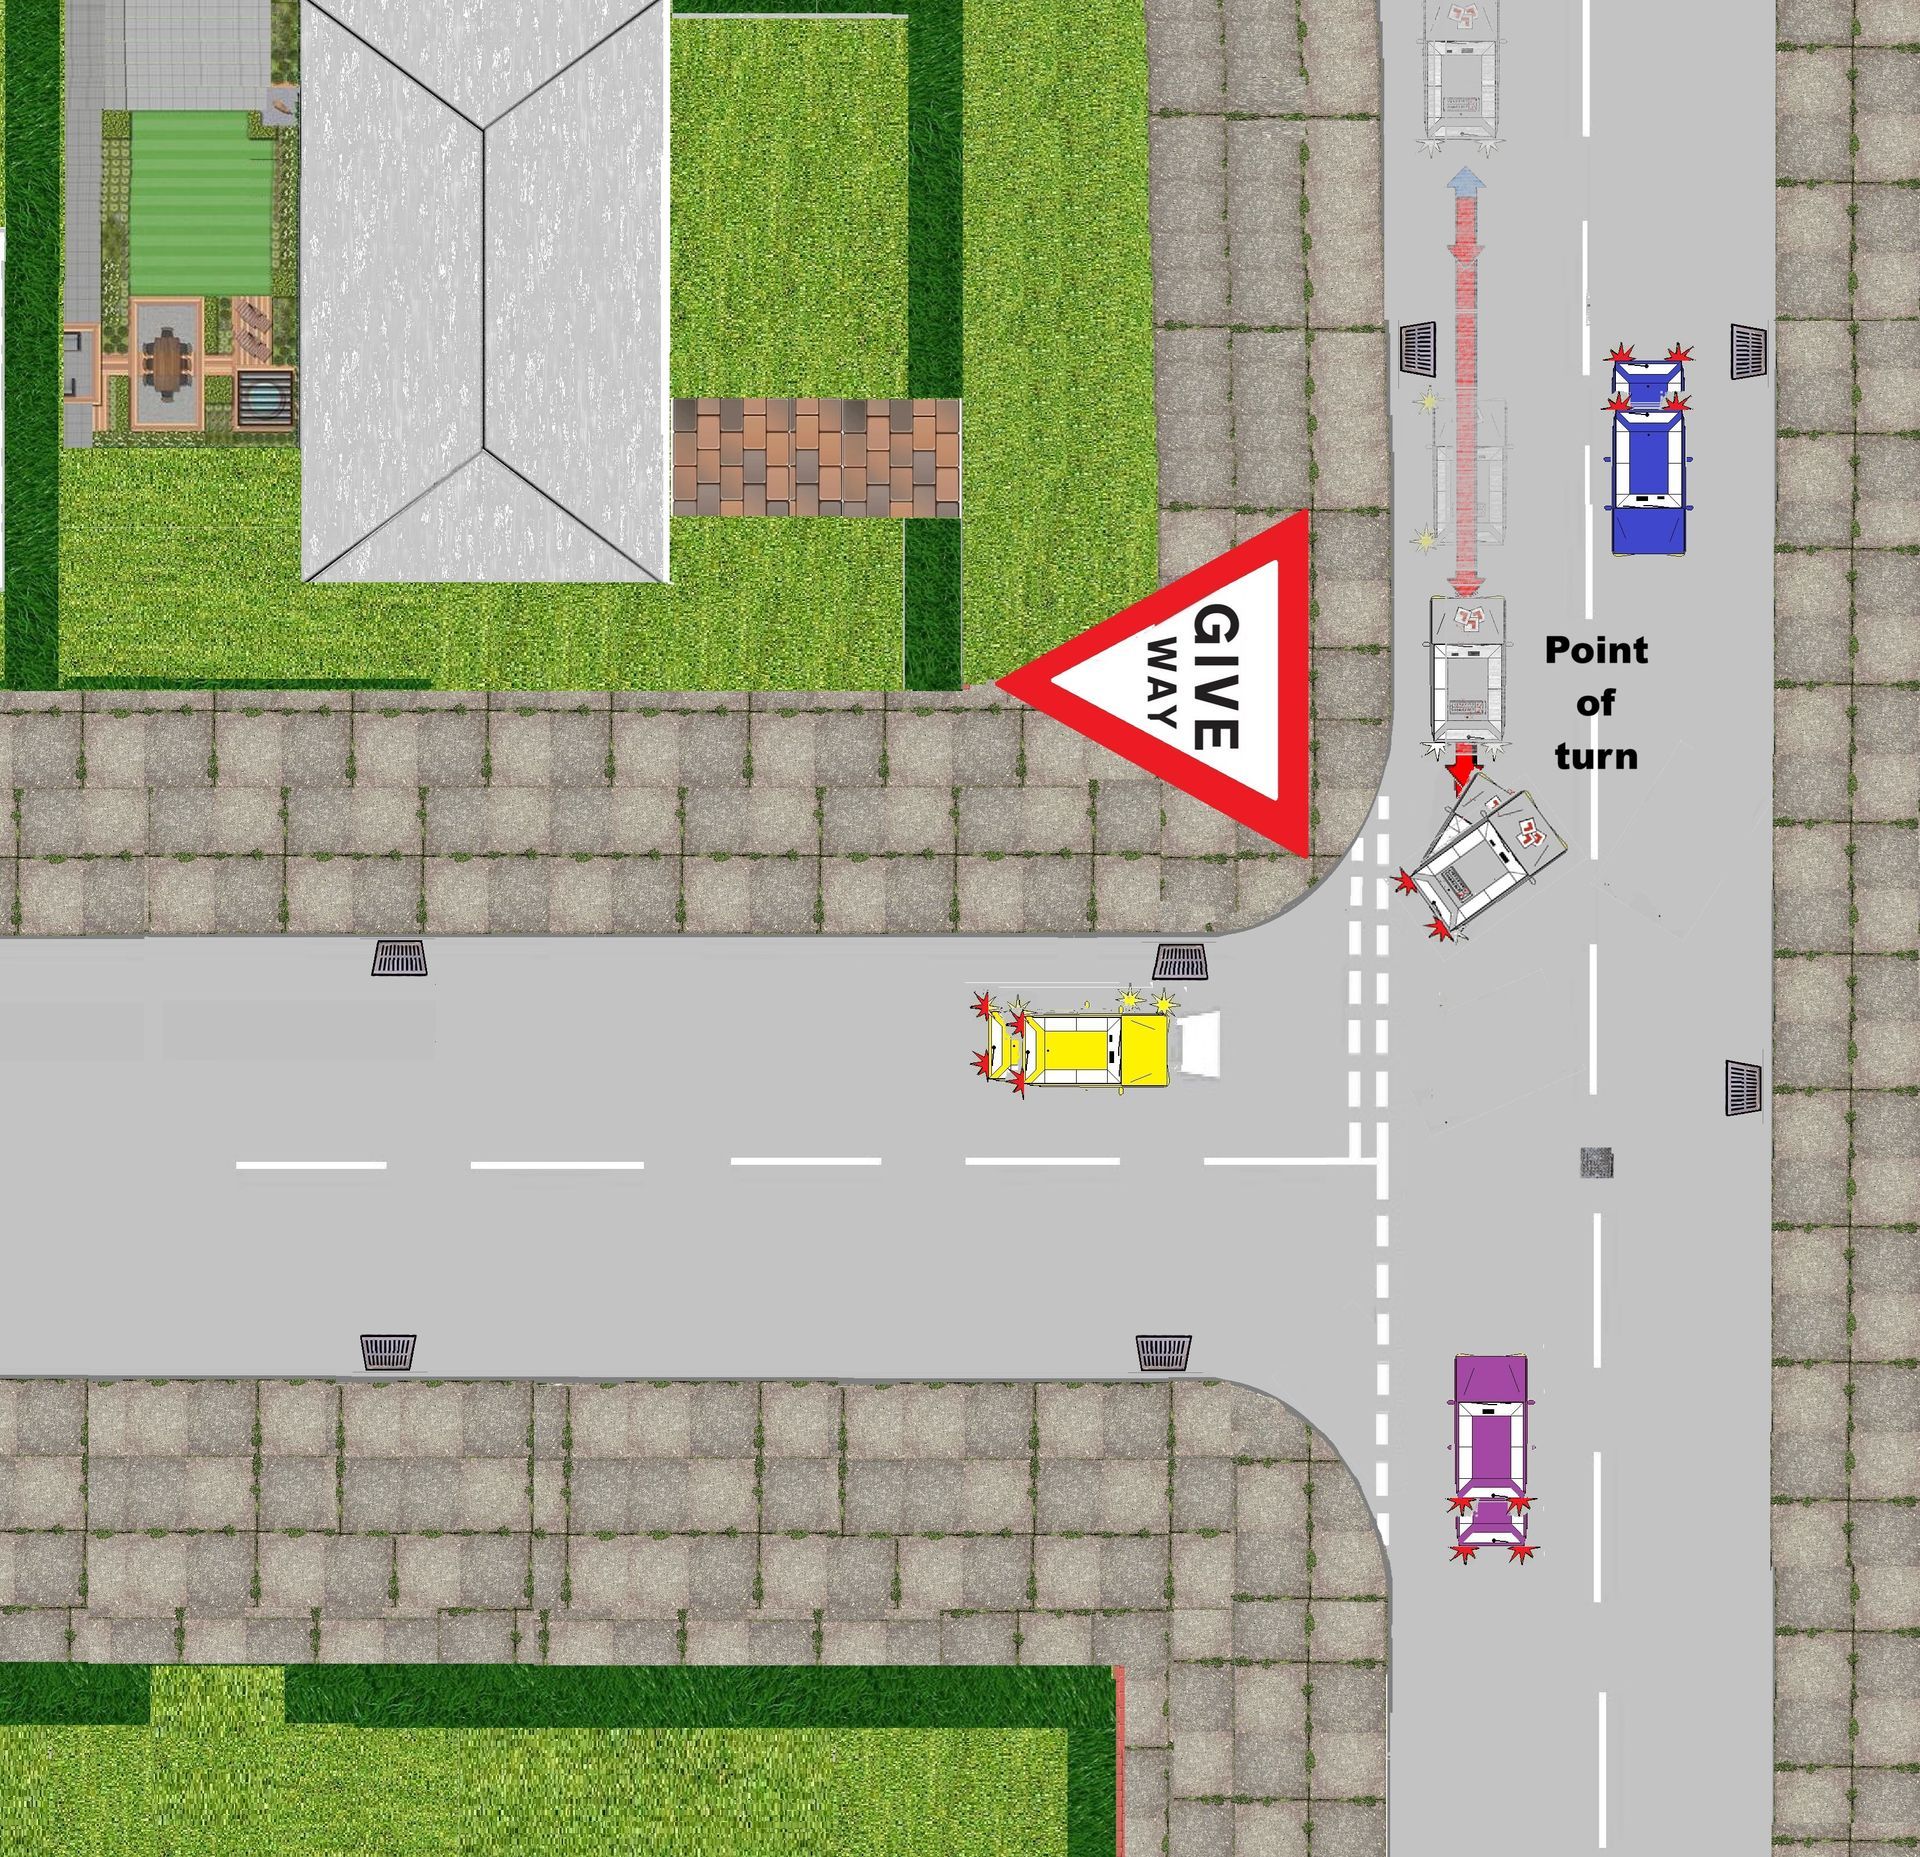
Point to turn
Reverse back until you have your point of turn - Your point of turn will be your back seats in line with the kerb looking out of your side passenger window (we call this the point of turn).
Another reference point can be the kerb disappearing in the passengers side (nearside) wing mirror.
Point of turn
This is the point you start to turn your steering wheel (using the pull push method) to the left using both hands while maintaining all around observations (6 point checks) including over you left and right shoulder.
Dealing with other road users
When reversing to the left be prepared to abandon the manoeuvre and drive forward back to the start position.
Until you are well back into the side road it is potentially very dangerous for other vehicles to overtake you so close to the junction.
So if this happens go back to the start position.


- Fault identification.
- Fault analysis.
- Remedial action.
- Full talk through.
- Prompt.
- Independent.
- Feed back at the end of your lesson.
- Student’s responsibility of lesson and improvements.
- Plan for the next lesson.